Friday, September 14, 2012

Assessment 5 Texture Samples


The first of the texture samples. Exploring supplementary warps, chaining, soumak, macrame square knots, wrapped threads and various other knots. Used wool, hemp twine , cardboard & cotton. Finished with bone, shell & beads.

Still can't keep my sides straight ...hmm, maybe that should be my "thing", asymmetrical tapestries! I start with good intention and then before I know it I've become so involved in the process of the weaving, the choosing colours & yarns, the knots & textures, that I forget to keep an eye on the shape of the whole.

Tuesday, September 4, 2012

Weaving Mangroves


 I hadn't realised how long it's been since my last post. I was really hoping to post updates every week but time seems to fly by.
 
Anyway, I decided to go with the mangroves as the inspiration for my abstract landscape tapestry. I just couldn't get past them.


It was Michelle's idea to use a different colour scheme that helped make up my mind. So, I played around with my limited knowledge of Photoshop


and came up with this


Because of the strong vertical lines in this design I wove the design sideways, which I found challenging.


The other main problem I am having is keeping my sides straight and parallel.


The other exercise I have completed & really enjoyed was the dyeing fibres. I ended up using large jars to dye in and placed them on a rack in an old frying pan filled with water.


Monday, August 6, 2012

Dyeing Fibres


I've taken a break from weaving today to start preparing the dyes required for the next set of exercises. When I first received the course material I had a read through book 2 which contains the information for the Dyeing section for the year and realised I needed to source the dyes & glass bottles early on.


The 2 litre glass flagons were not as easy to find as I first thought (short of drinking a lot). I found a supplier on ebay that sold them in lots of 4. As I needed 5 I had to buy 2 sets. The supplier was a home brewing company. My local home brewing shop doesn't stock them but if you live in a more populated area this would be my suggestion. Seeing them in person I would have been able to select bottles with better lids. (you'd think that bottles meant for brewing/holding alcohol would have decent lids wouldn't you). Needless to say I was disappointed by the cheap lids on my flagons when they arrived (but at least there were no breakages which was my initial concern).

The dyes I bought from Kraftkolour as instructed in the book. I couldn't order directly from their site as the dyes were not listed in the online store section so I sent an email enquiry & ended up phoning and ordering over the phone.


Today I decided to mix the dye powders with water ready for the actual dyeing at a later date.

So, I got out my electronic scale, a measuring jug, plastic spoons and disposable gloves (I recommend changing them as soon as you get dye powder on them, as the smallest amount of water on the dye powder can mean a big mess!). I also rummaged in the back of the cupboard and found some paper patty cake cases.

My plan was to measure the dye powder into a patty case and then tip this into the flagon & add the water. I soon realised this wouldn't work as the first patty case was soon filling up with powder & I was not at the required quantity. Also I think it's better to add the powder directly to the flagon as it could've ended up a disaster trying to transfer all the powder into the flagon.


What I did was place the glass flagon (lidless) on the scale and tare the scales (zero it). Then I carefully spooned the dye powder into the flagon a little at a time. It helps to have a spoon that fits into the mouth of the bottle so that there is minimal powder around the top of the bottle. When the 20g was reached (or 10g in the case of the black) I added the water. I had previously marked with texta on one of the bottles where 2 litres of water came up to & copied this on to all the bottles.
The instructions say to use hot water. I boiled the kettle then added boiling water into a pouring jug with some  tap water to cool it slightly. After I added about a third of the water I capped it & gave it a swirl/shake to dissolve the dye powder. Then another few inversions after topping the water up the mark.

All my dyes are now mixed, the bottles are stored in a plastic tub on the laundry bench & I can't wait to actually dye some wool.

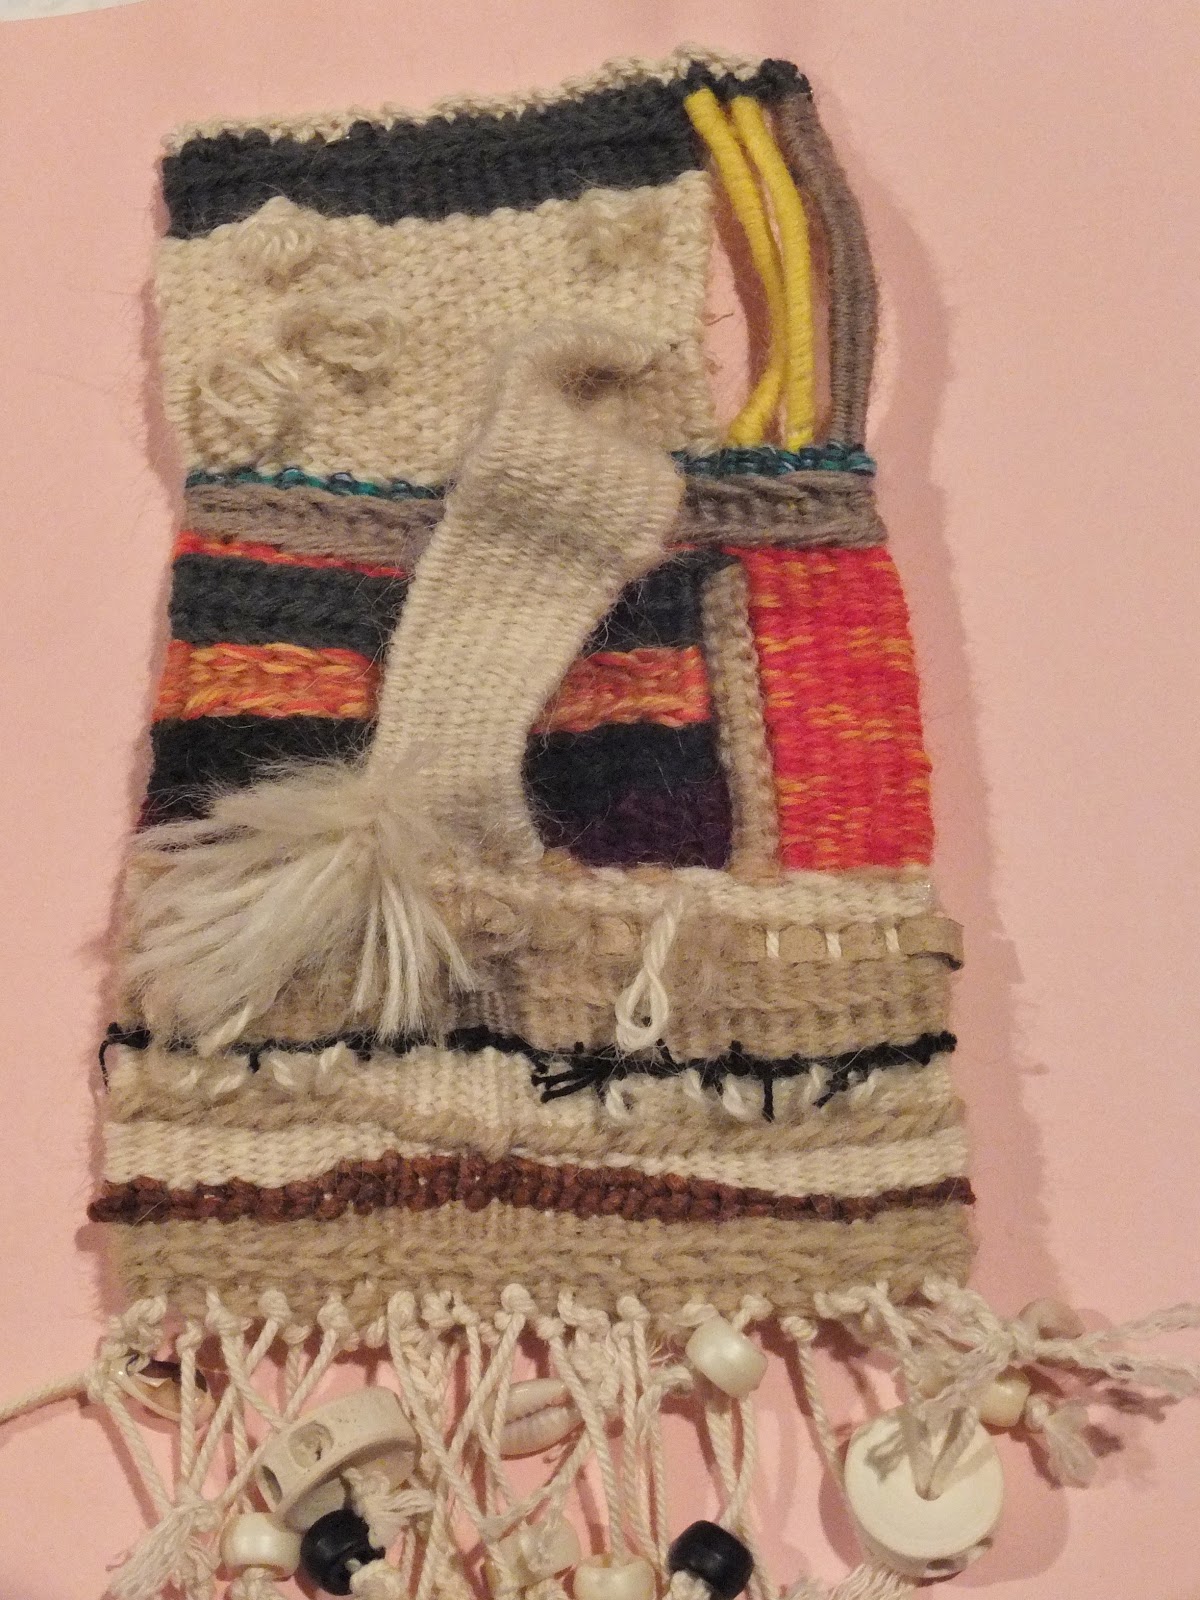
Back to the weaving.


Tuesday, July 10, 2012

Geelong Fibre Forum

For Misha: http://tafta.org.au/geelong-forum/

Consistent


This week I received my last 2 assignments back with feedback. Both were marked 80/100 (like my first assignment),  so I'm consistent.

Here's the one I forgot to photograph before sending it off.


I really have to practice working with colours and having bobbins starting everywhere. It is resulting in not being in the right pass when the 2 colours meet, which is quite obvious in this piece.
I also have to beat down firmer. After watching some videos I had actually thought I was being too harsh in beating down, but apparently not.

I'm having second thoughts about using the mangroves as an inspiration for the next tapestry. The brief is to use multi-colours so I'm thinking the mangroves are not colourful enough. Also I was advised to use some colour in my design (a response to the above tapestry).

(To answer Mishas question about my location: I am in Ballina, on the far north coast of NSW, about an hours drive to the NSW/Qld border. So I am lucky to have mangroves, beach, rivers, mountains, rainforest, paddocks .... lots of natural landscape for inspiration).

Anyone going to the Geelong Fibre Forum in September? (I'm going & will be doing the knitting workshop with Teresa Dair.)

Friday, July 6, 2012

Landscape Inspiration

I've been thinking about the next assignment, the abstract landscape, and looking around me for inspiration. I keep returning to the nearby waterway and the mangroves.


The limited colour palette may be challenging for me but I'm looking forward to working with more "subdued" colours.

Wednesday, June 13, 2012

Assessment 3

Assessment 3 is a Woven Colour Sampler. I've included a couple of scans so the colours aren't quite accurate (as the complete tapestry wouldn't fit in one go under the scanner).


 It always amazes me how much "clearer" things seem when viewing a scan or a photograph ....... I find it much easier to see the errors now looking at the scans then I can see looking at the tapestry itself. I seem to have missed quite a few warp threads in this sampler.

No feedback on the last assessment yet, but I think I'm improving each time. Now to warp the larger loom for the next assignment.